
Creating mailing lists
1. Enable GC Lists
To collect email addresses, create mailing lists and send messages to subscribers, you need to have the GC Lists integration enabled. At the moment, it is not enabled by default.
Contact us to enable GC Lists for you.
2. Set up GC Lists
Once GC Lists is enabled, you must set it up by connecting it to a GC Notify service. This will unlock the “Messages” and “Mailing Lists” features in the admin panel.
- Create a GC Notify service.
- In a new window, go to the Setup page in GC Articles.
- Follow the instructions to create your API key and template IDs.
- Save changes.
3. Create a new list
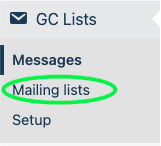
With GC Lists enabled and set up, you can now create lists by selecting “Mailing lists” in the admin panel.
4. Add subscribers
You can add new subscribers to a new list by selecting “Create new list”.
You can add new subscribers to an existing list by selecting “Add subscribers” in your dashboard.

Upload a spreadsheet of existing subscribers
If you already have an existing list of subscribers you can import them into GC Articles.
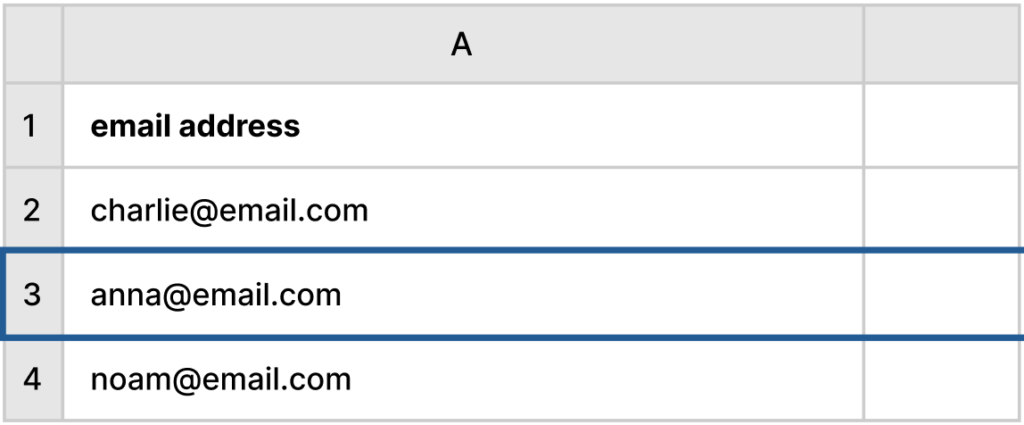
- The format of this file must be a spreadsheet in CSV format.
- Your spreadsheet must have a column with either email addresses or phone numbers – depending on the method of contact.
Set up a form to collect subscribers
If you don’t have an existing list of subscribers, you can set up a form to allow them to subscribe on your pages. GC Lists must be enabled (section 1 above) and set up (section 2 above) to do this.

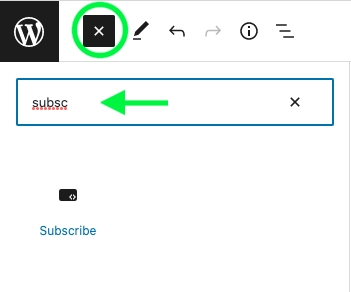
- On the page or article you are creating, select the “+” button to add a content block.
- Search for the “Subscribe” content block and add it to your page.
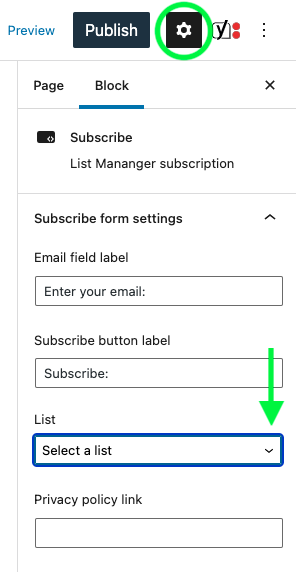
3. Click the gear icon beside the Publish button and select the list you would like this form to add people to.
Sending messages
To start sending messages to your subscribers, check that:
✓ GC Lists is enabled (section 1 above)
✓ GC Lists is set up with an API key and template IDs (section 2 above)
✓ You have a list with subscribers to send the message to (sections 3 and 4 above)
5. Create a message
- Select “Messages” in the admin panel.
- Select “Create new message”.
- Choose whether the message is being sent via email or text message then select “Create message”.
- Fill in the 3 fields. What you put in the “Subject” field will replace ((subject)) in the template you set up in section 2 above. Similarly, what you put in the “message” field will replace ((message)) in your template.
- If you aren’t ready to send it, you can save your message as a draft. If you are ready, select “Choose a list to send to”.
6. Send the message
- Either continue on from creating a new list, or select the draft message you’d like to send from your “Messages” dashboard.
- Select the list you want to send this message to.
- Select “Send message”.
Congratulations! You’ve just sent a message to your mailing list from GC Articles!